Configure your local Salesforce Development Environment.
Why complete the following steps?#
- You’ll want a versatile IDE (writing apex code in developer console can be a serious drag)
- You want to do some LWC development (needs to be done in an IDE such as visual-studio code)
- Your team utilizes a dev-ops pipline for deploying
- You want to try out linters for Apex / other plug-ins (non-existent for Developer Console)
- You want to do other development work outside Salesforce (such as web-development)
- Download and Install Visual Studio Code.
Visual Studio Code is the only IDE I’ve used with Salesforce BUT that is fine since it’s probably the leading IDE for web-development && contains an extensive library of open source extensions.
- Download and Setup Salesforce CLI
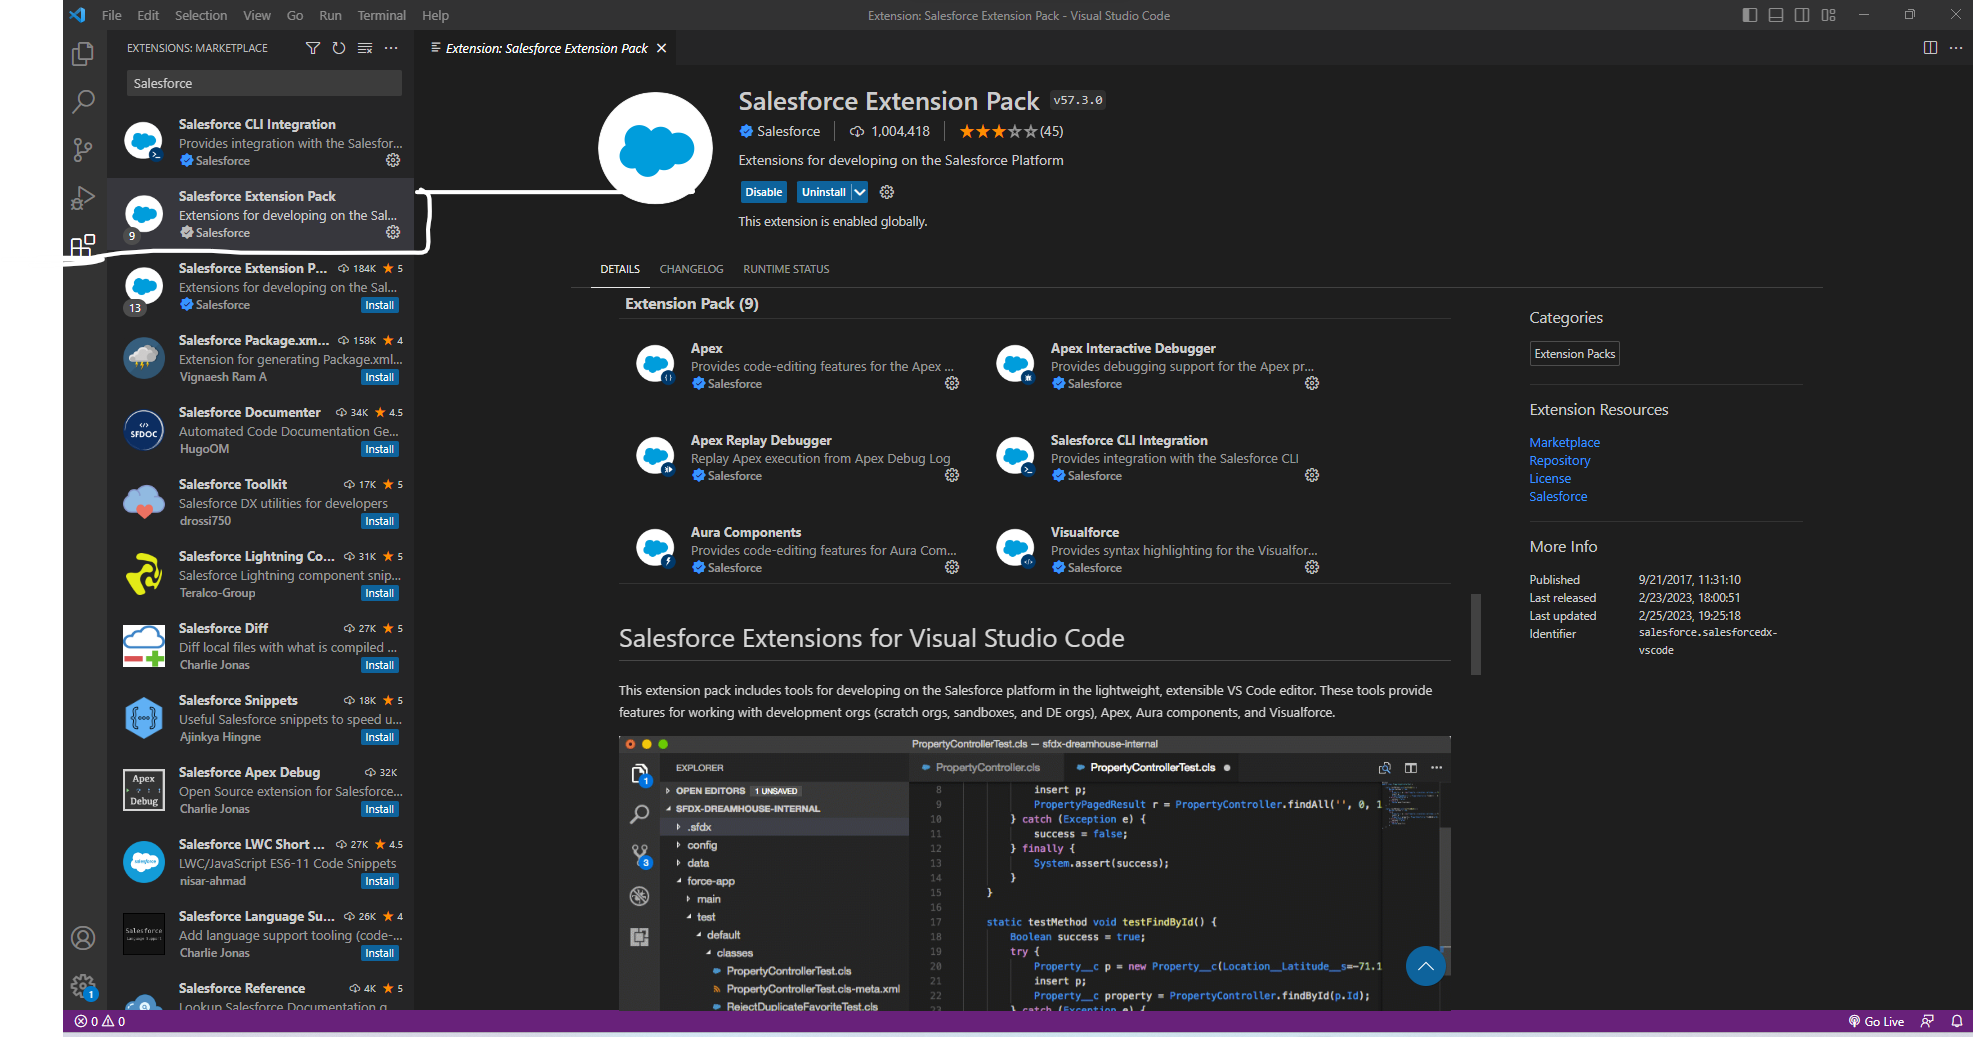
- Open a new window of Visual Studio Code and click on Extensions from the left-hand panel … then search for && install
Salesforce Extension Pack.
This extension will bring the majority of tools you need for developing Salesforce locally.
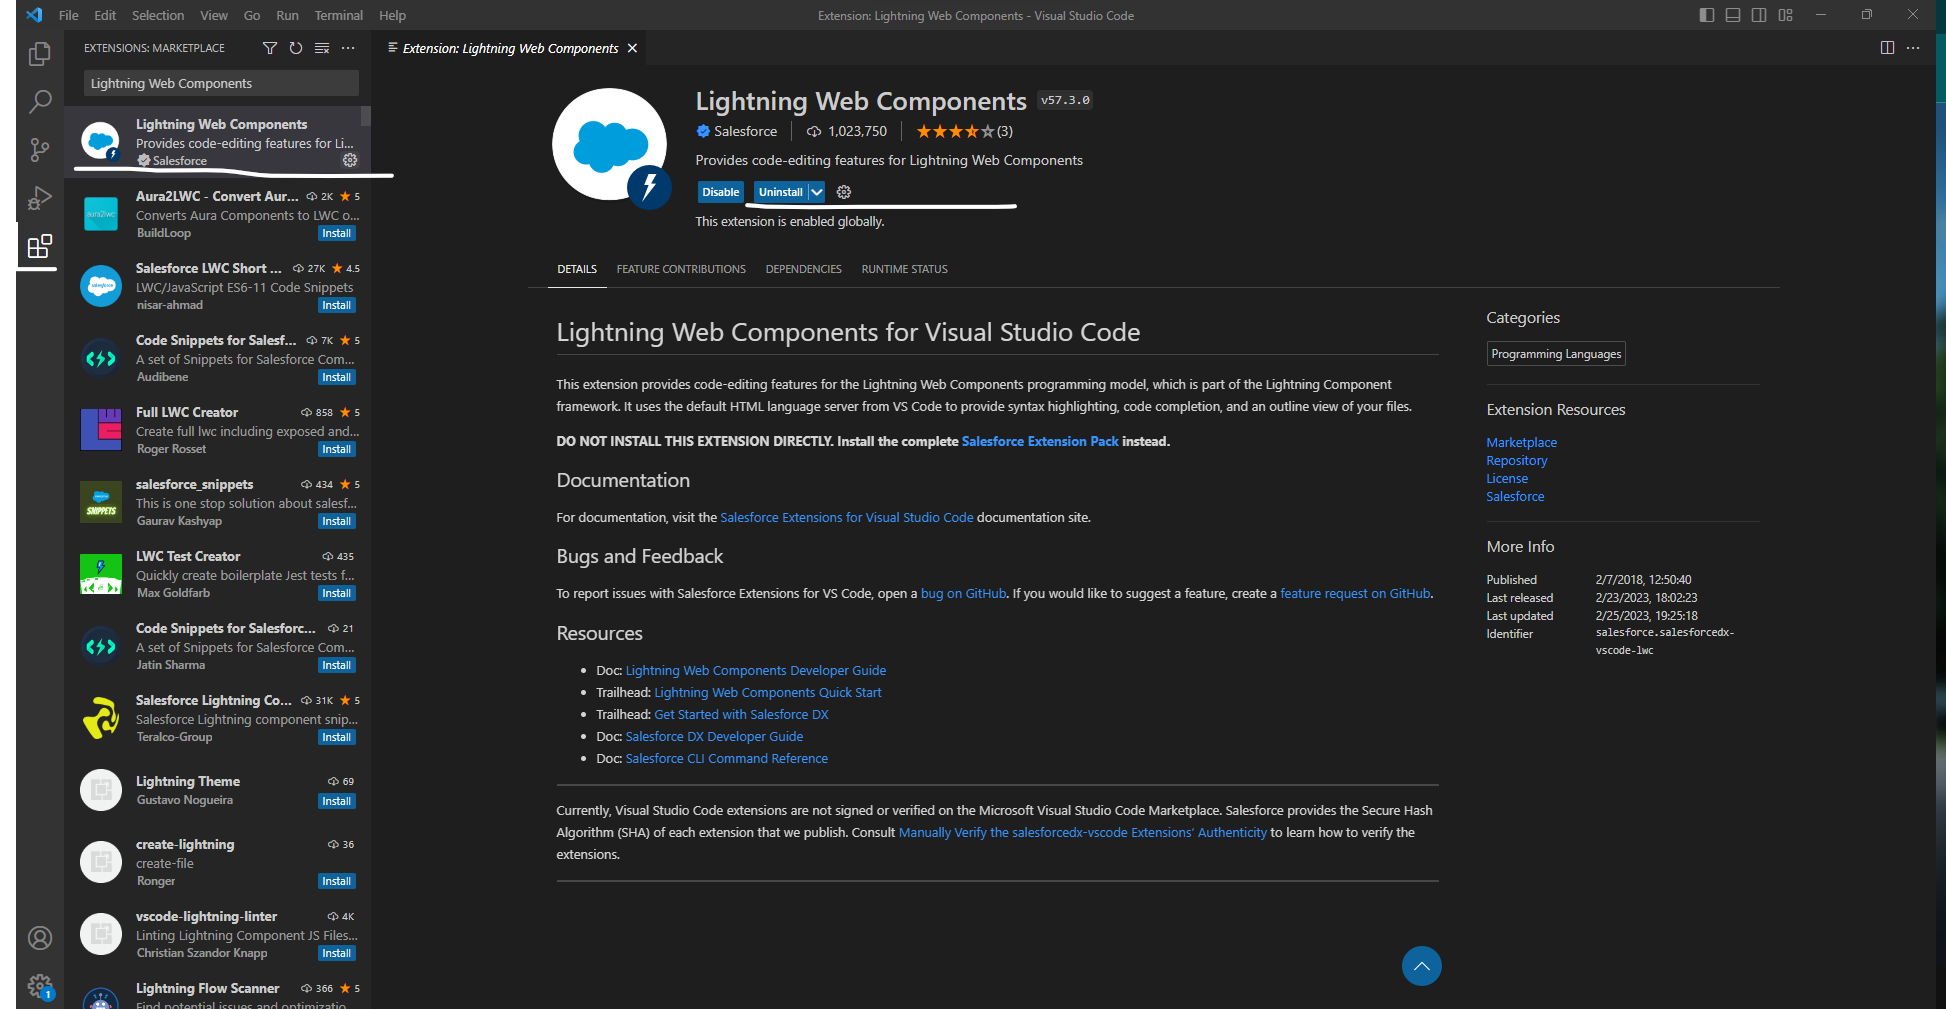
- Navigate to Extensions from the left-hand panel … then search && install
Lightning Web Components.
This extension is required for developing LWC (can’t develop these inside Developer Console in Salesforce so makes this extension even more important).
Great, now you are setup locally and can pull down the meta data of any of your Salesforce orgs && begin to develop Lightning Web Components.#
For guidance in connecting to one of your Salesforce Orgs && bringing down your Org’s meta data … check out this blog post.


