Great, you’ve landed @ your new Salesforce Developer gig and have your local environment ready (see referenced blog post below for local setup) … What should you do next?
If you need help getting your local development environment configured for Salesforce Development, check this blog post.
Why complete the following steps?#
- Good practice of backing up your sandboxes (and especially production orgs) locally
- You want to do some LWC development (needs to be done in an IDE such as visual-studio code)
- Your team utilizes a dev-ops pipline for deploying
- You want to try out linters for Apex / other plug-ins (non-existent for Developer Console)
- Coding for long hours in Salesforce developer Console is horrible experience
- Create a new Salesforce project locally
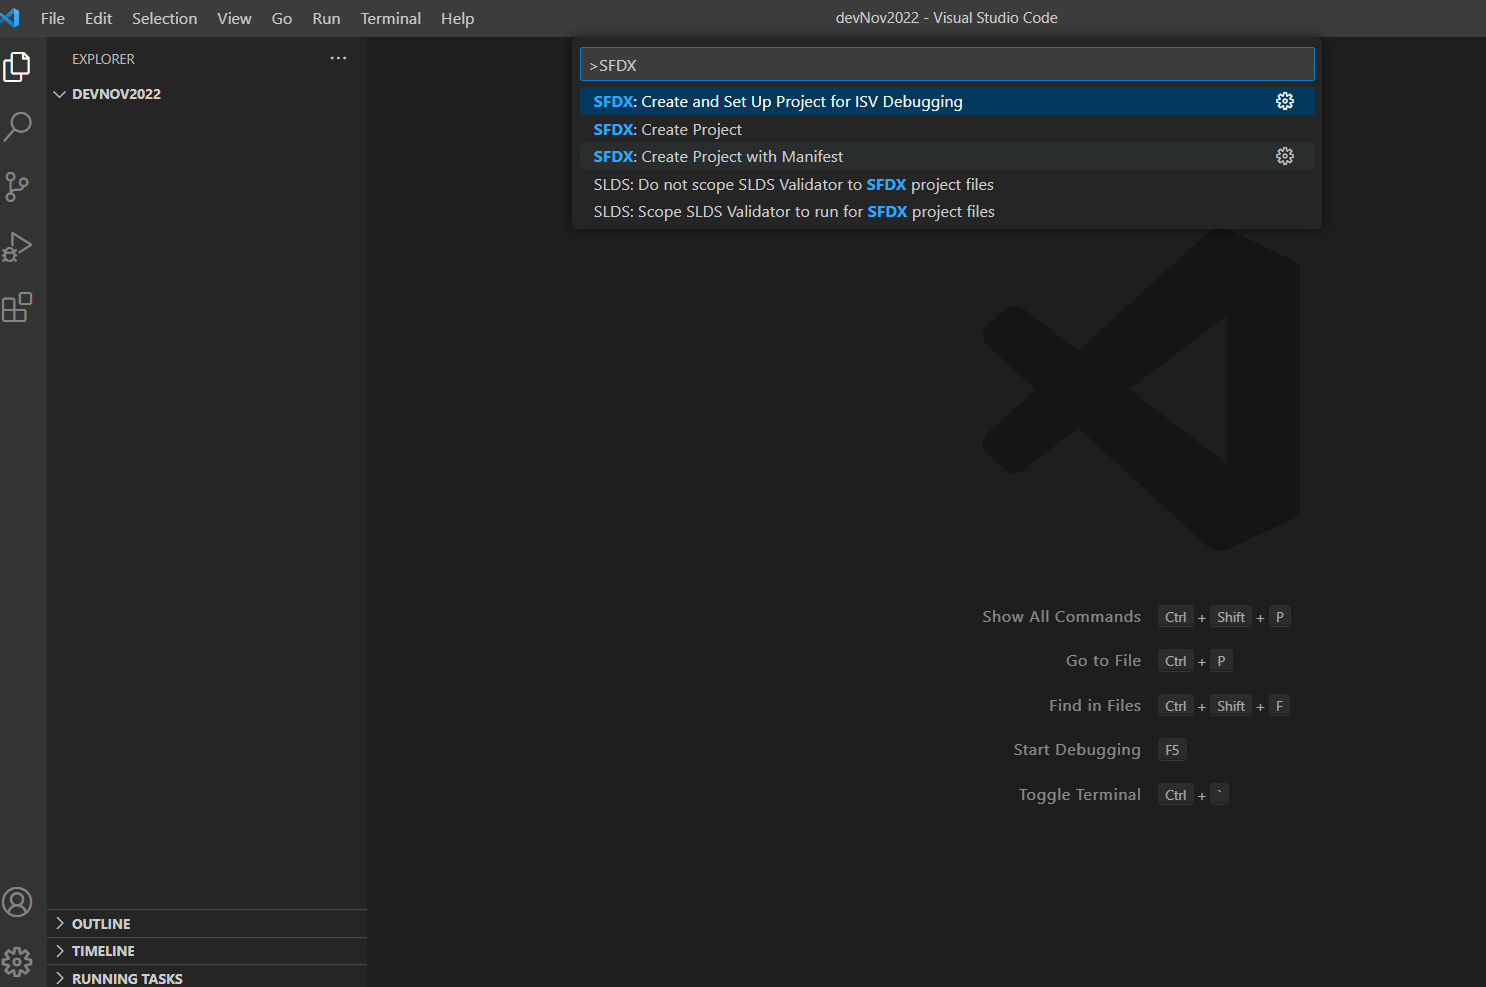
Open VS Code && inside your blank project folder … press ctrl + shift + p (to bring up commands) …
SFDX: Create Project with Manifest
:this will scaffold a blank Salesforce project and provide you with a package.xml file
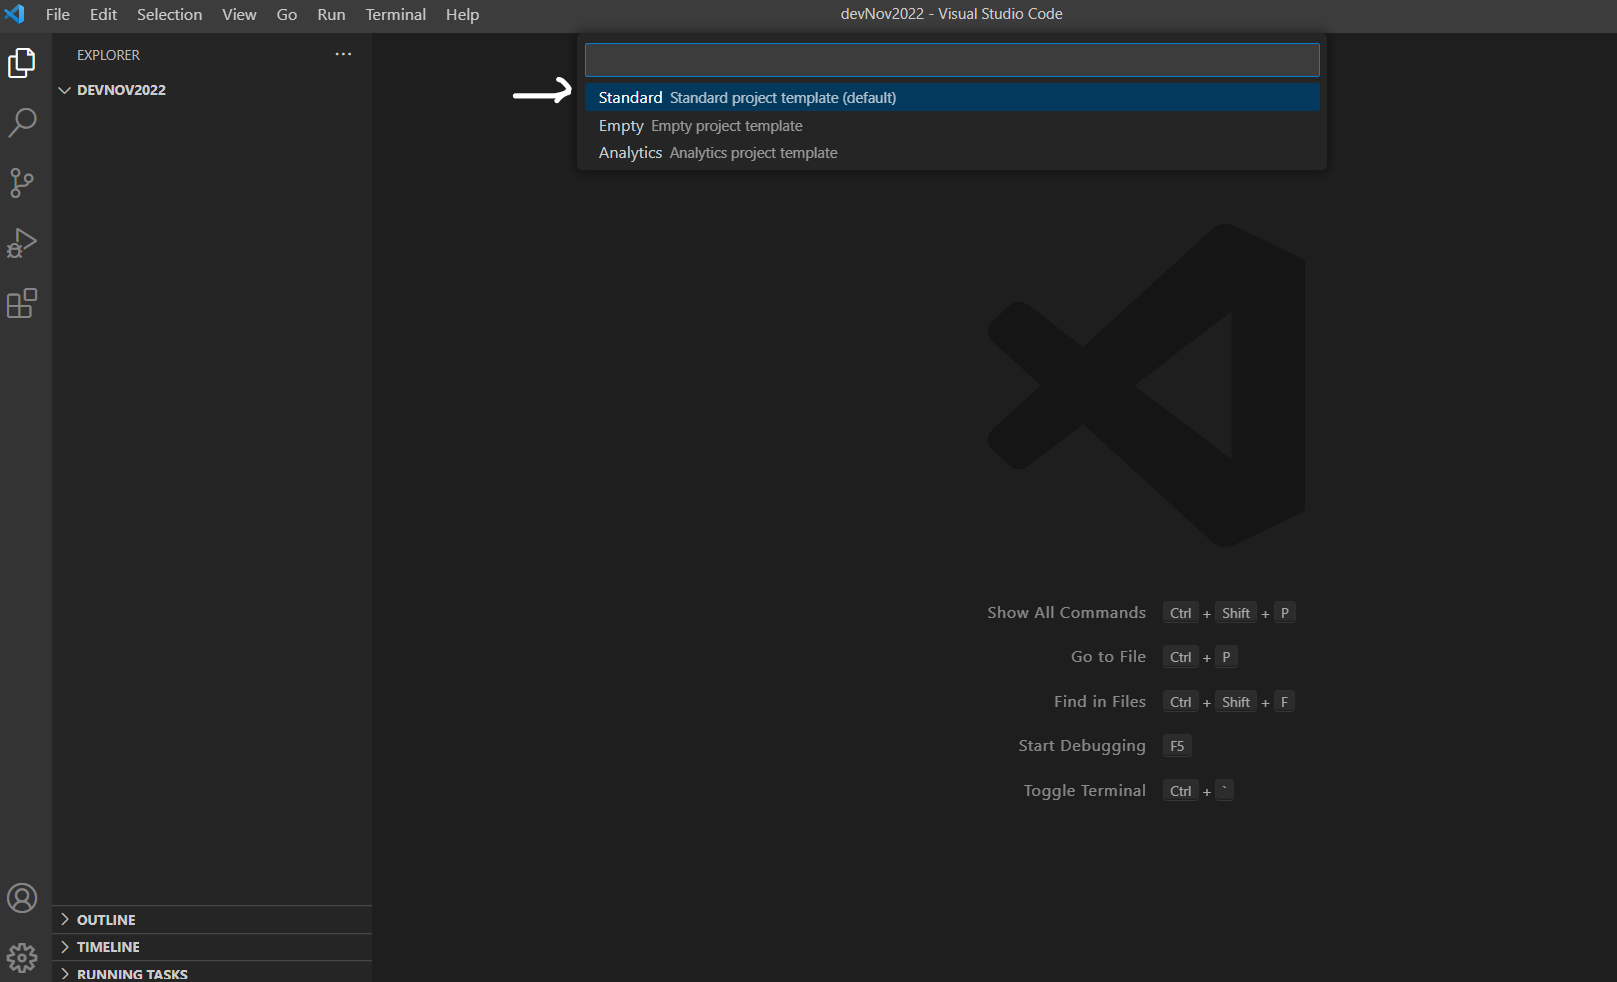
- Select standard after running ‘SFDX: Create Project with Manifest`
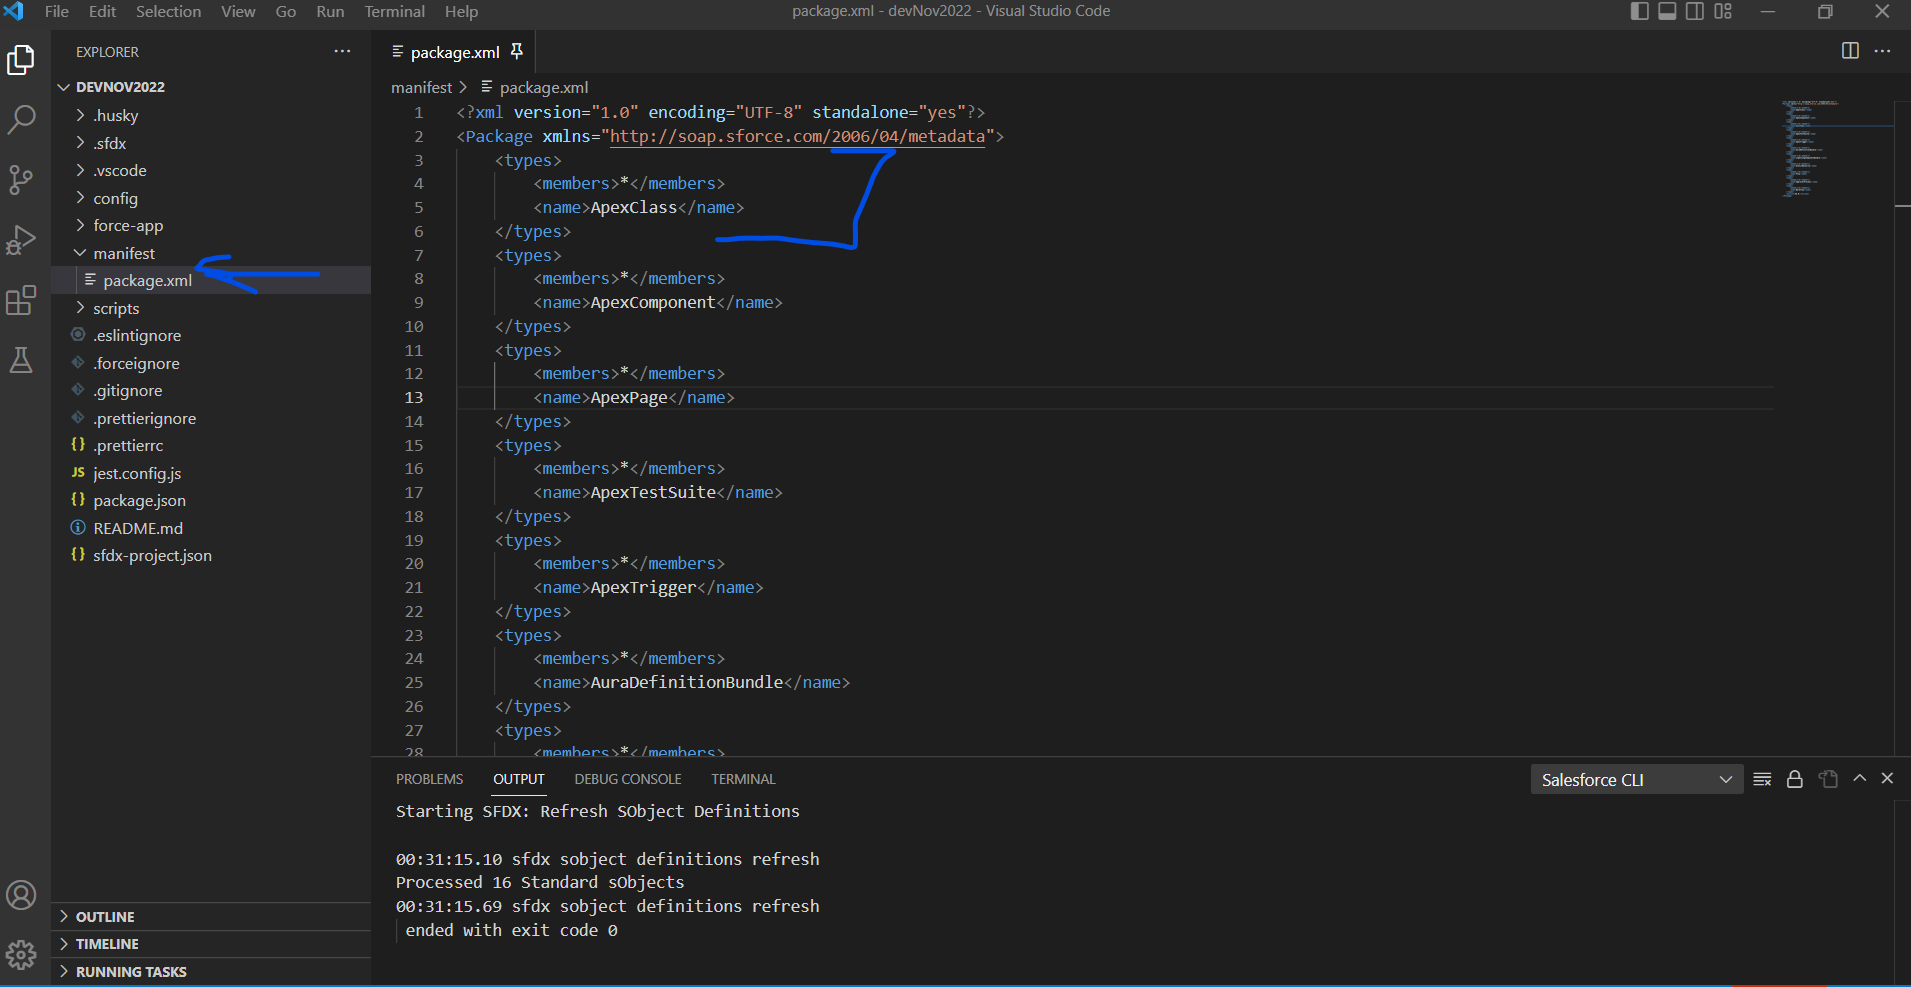
- Locate (in manifest folder) package.xml and upate it to include additional types such as
ApexClass
- Connect your local project to your desired Salesforce-Org
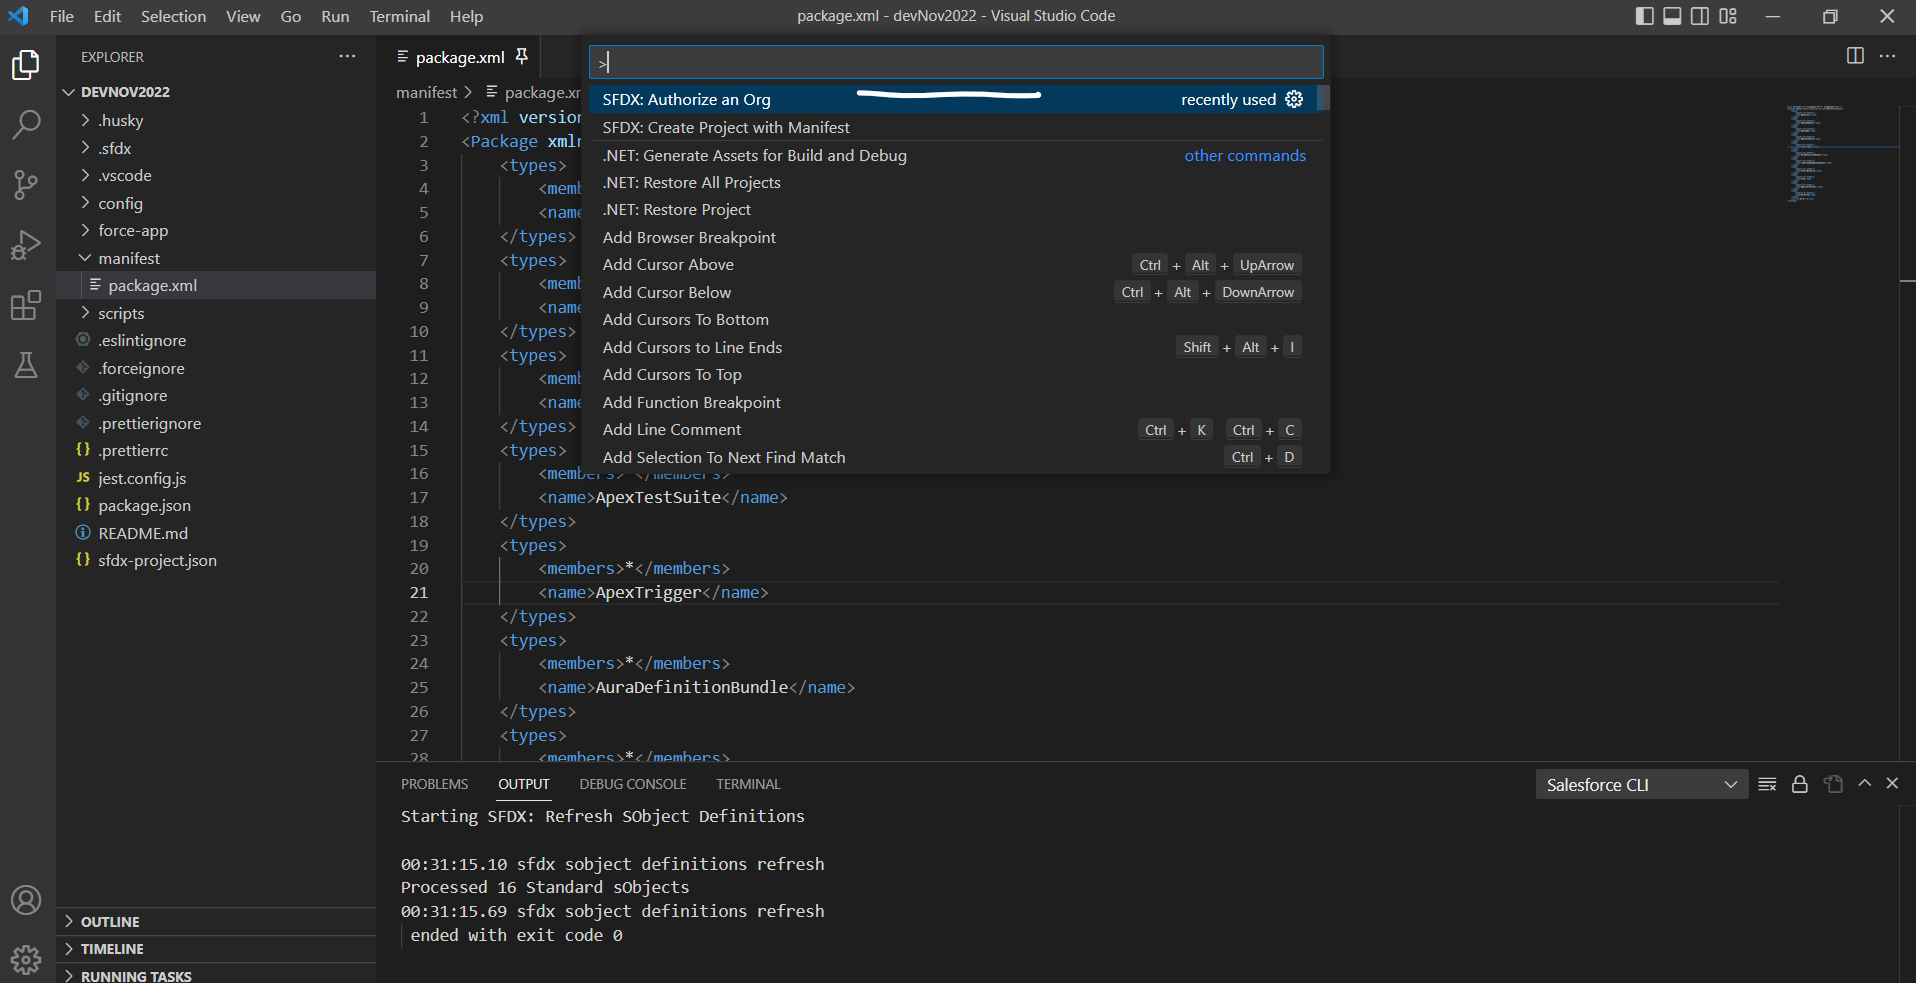
Open commands again (ctrl + shift + p) and enter …
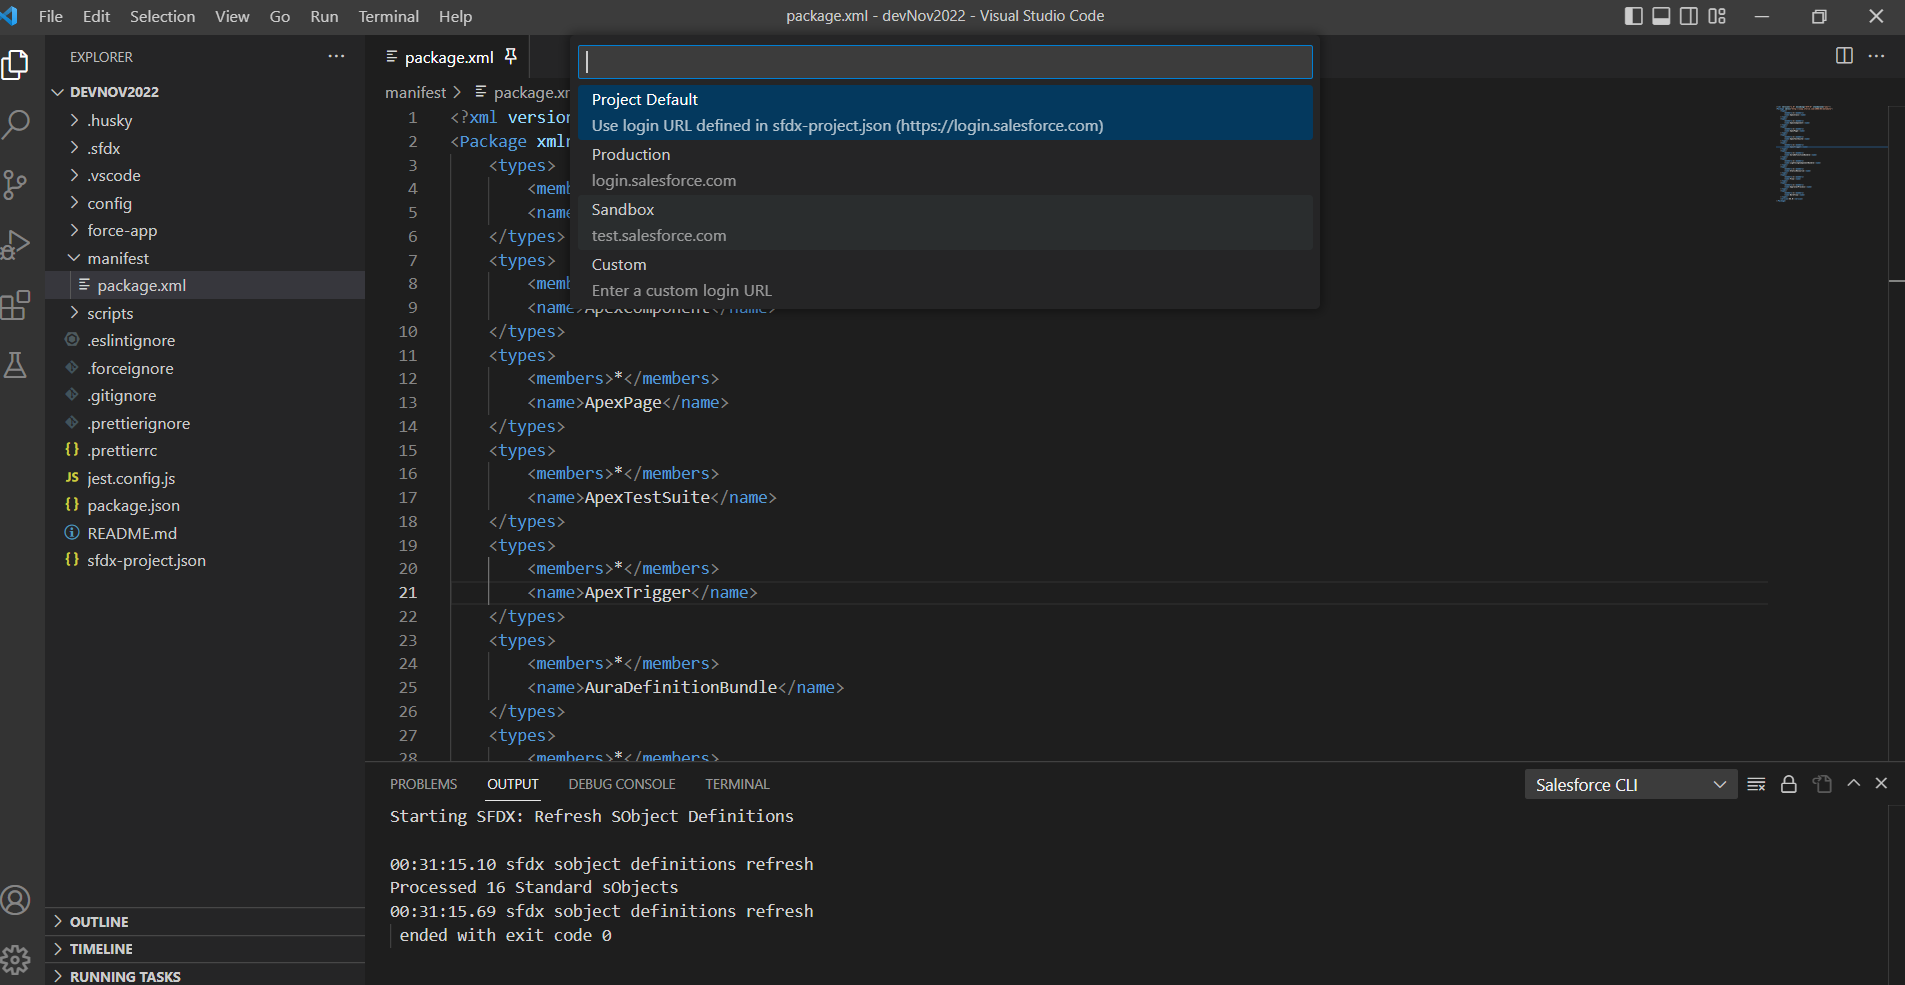
SFDX: Authorize an Org
- Select
SandboxorProduction
Follow the prompt && provide log-in details (on success you will land in the desired org in a new browser tab)
- Verify you are connected to a Salesforce Org in your VS Code project
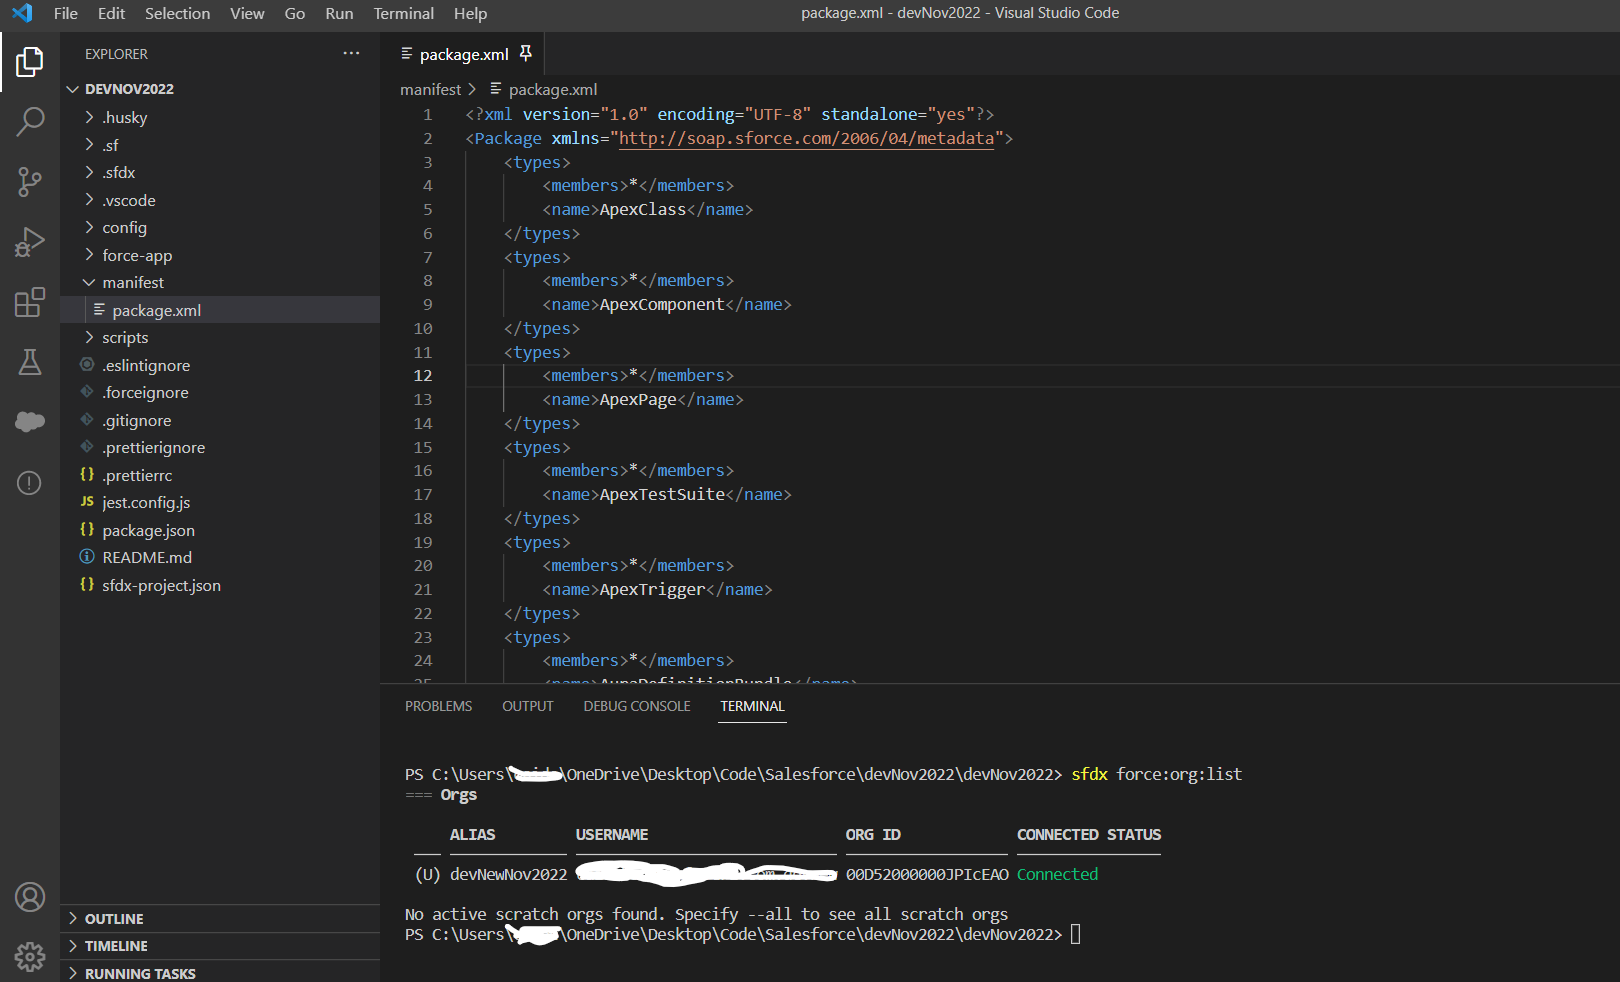
- Inside your Salesforce project open a new terminal window
- Run the following command
SFDX force:org:list - Verify you see Connected Status next to an Org Id with relevent Username (and whichever alias you provided in the steps above)
- Perform a
Retrieve Sourceto bring down your Salesforce Org’s meta-data to your local project
- navigate to the package.xml file again (inside manifest folder)
- right-click (anywhere on the file) and select
SFDX: Retrieve Source in Manifest from Org(will retrieve all the meata-data for the various types specified in the package.xml file) ![sfdx-retrieve-source-in-manifest-from-org]
Great, now you have backed up the crucial customizations of your Salesforce Org and can begin to do the following:#
- perform retrieves/pushes of entire codebase from package.xml (not recommended for Pushes)
- develop new features locally
- deploy/back up classes, components, etc… one file at a time by simply right-clicking on that file and selecting the command (will only perform action on the open file)

